
Not a data science blog today! I wanted to briefly share some project ideas for self-hosting and just say that Mini PCs are great! Mini PCs can be powerful and quiet little desktops, but, they can also function as servers.
I got my hands on two Intel NUCs, which are small form-factor computers. It’s just like a normal desktop but can fit in your hands (~10 x10 cm).
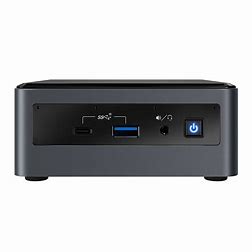
If you leave them with networking and no I/O, they will sip power (~30 Watts) and act like a little server.
NUCs and other similar mini PCs such as the Antec Asrock have many use cases. For example, host websites (like this one!), be home media servers (with Jellyfin or Plex software) and be used for Home Automation servers (and more).
Below are two examples: Hosting a Discord bot and Bedrock Minecraft Server. As for software prerequisites, my NUC has Ubuntu server, Python, Docker and Docker Compose already installed.
Discord bot
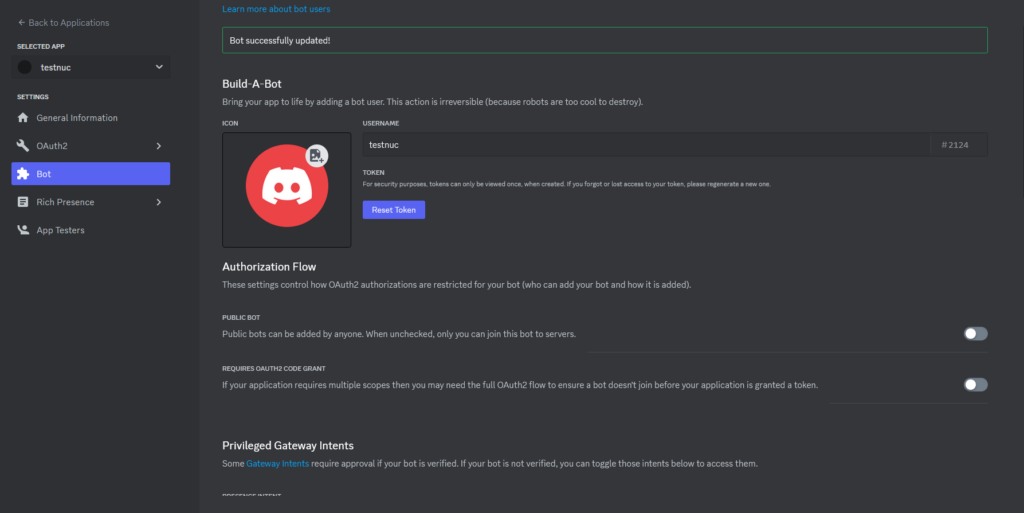
Let’s create our own Discord bot and self-host it. First, you want to want to visit https://discord.com/developers, create an application and add a bot. You will need to copy the token and save it somewhere safe. For permissions, it depends on the bot, but usually I enable send and read messages at the least. For Privileged Gateway Intents, I would usually enable all.
A typical bot could start like this
import discord
intents = discord.Intents.all()
intents.members = True
This gives your bot the ability to receive member-related events. Next, we could make our bot invoke commands when a user types in ‘$’ in chat:
from discord.ext import commands
client = commands.Bot(command_prefix = "$", intents = intents)

@client.event
async def on_ready():
print('We have logged in as {0.user}'.format(client))
The on_ready() function will let us know when the bot is connected to Discord and ready to start processing events.
If we want the bot to say hello when we type $hello in the discord server we can use “context” (ctx).
@client.command()
async def hello(ctx):
    await ctx.send('Hello!')
Don’t forget to run the bot with your token client.run("TOKEN"). You can add your bot to your server using the OAuth2 URL generator in the Developer Portal, ticking send and read messages, and pasting the URL into the browser

I recommend using ctx for sending messages – it can make things easier. The context contains information about the message that triggered the command. This includes the channel, server, and author of the message.
You can run the bot with python3 name_of_bot.py in the terminal.
Check out my GitHub for a Discord bot that uses the Natural Language Toolkit (NLTK) Python package to find the most negative user (silly usage I know!). Fabio-RibeiroB/NLPdisrespectBOT: Discord Bot for Sentiment Analysis (github.com)
This is not a dedicated server for my bot so let’s containerise the application and let it run in the background.
I don’t want my secret token in the container in case I want to share the image so I created a .env file with TOKEN=my_token (ignore quotes) and add this to a .gitignore and .dockerignore files. In the bot script, you will then need to load the env variables using the python-dotenv library.
Our Dockerfile could look like this:
FROM python:3
WORKDIR /app
COPY . .
RUN pip install -r requirements.txt
CMD ["python", "sentimental_analysis_bot.py"]
This assumes you have a requirements.txt file with all your dependencies.
While in the directory of the bot, let’s build the image from a Dockerfile and name it.
docker build -t my_container_name -f Dockerfile .
Now we run the image as a container and pass it to the .env file and run it in the background
docker run -d --env-file=.env my_container_name
After entering the container I can see that there is no .env file. Great!
Minecraft Bedrock server
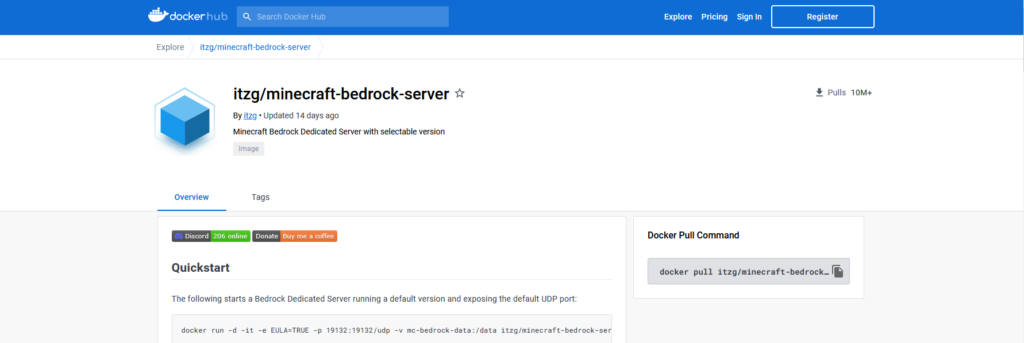
No need to spend $5/month on a server when you can host it yourself. Thanks to the itzg/minecraft-bedrock-server – Docker Image | Docker Hub docker image, having your own Minecraft server is not too difficult. I have only played around with the Bedrock version but I believe the Java steps are similar.
You will need docker to pull the image above (see the GitHub or Docker hub page for more info) and I recommend using docker-compose to get the container up in the background (command: docker-compose up -d).
As for configurable settings, I would enable the “allow list” which specifies which players can join the server; it’s just a security feature. However, the easiest way to add people to the allow list from the terminal is not clear to me. In the end, I just entered the running container (command: sudo docker exec -it my_server_name bash) and edit the allow list JSON by installing vim (apt update && apt upgrade && apt install vim). Here is an example allowlist.json.
[{"ignoresPlayerLimit":false,"name":"Your_name","xuid":"Your_xuid"}]
To find your xuid use this site: https://www.cxkes.me/xbox/xuid.
Once the container is running, you must set up port forwarding – WikiHow has a nice guide for doing this.
Below is an example docker-compose.yml that uses itzg’s Minecraft image, and set’s the Minecraft server to be survival mode, online, have an allow_list and set the name. If you ever want to change anything you can edit this file or server.properties and restart the container. For example, you may want to allow cheats.
version: '3.4'

services:
  bds:
    image: itzg/minecraft-bedrock-server
    restart: always
    environment:
      EULA: "TRUE"
      GAMEMODE: survival
      DIFFICULTY: easy
      ONLINE_MODE: "true"
      ALLOW_LIST: "true"
      SERVER_NAME: "My World"

    ports:
      - 19132:19132/udp
    volumes:
      - bds:/data
    stdin_open: true
    tty: true

volumes:
  bds: {}
To join the server, make sure you are on the allow list, type the server IP (same public IP as the NUC) and the port in “add server” on Minecraft.
I haven’t found a better way yet to change the allow list other than installing vim on the container and editing the allow_list.json file. Or you can just disable the allow list so any can join if you are having trouble with friends connecting.